Making a belt is something that’s simple once you get the hang of it. The basic idea is that you measure out the leather, cut it, dye it, fold it into a length, punch holes in it, attach buckle & spacer if necessary, and finally stitch the edges together. It’s really easy to screw up though so I’ll walk you through each step so you can finish your belt quickly & effortlessly. Getting Started Before you start making your belt, choose your leather. You could buy pre-dyed leather strips but for this instructable I suggest that you dye your own. You don’t need too many tools for the job but some are very useful like tape measure. How To Make A Belt Supplies Approximate cost: Cheap Stripes at your local fabric store will have the right widths for 7 or 10 cm wide belts.
Table of Contents
Materials: what you need
2 lengths of leather strip 1 piece of leather spacer
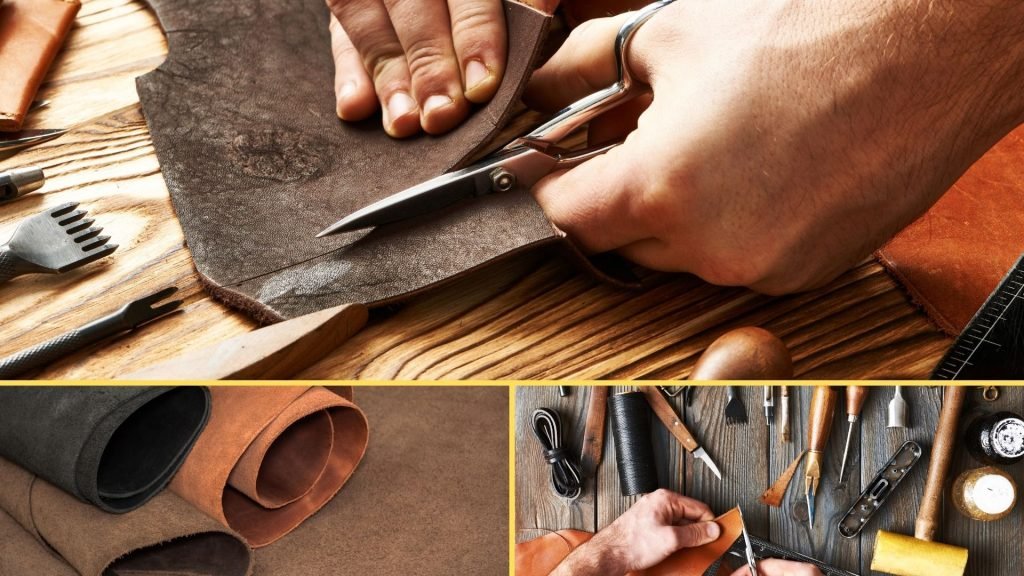
Tools & tools
- Tape measure
- Cloth cutter
- Hand drill
- Small scissors
- Dimensioning/cutting mat
- Buckle and spacer
How To Make A Belt: Instructions
OUT THE LEATHER: Measure the width of your belt
HOW TO CUT OUT YOUR LEATHER:
Use the measurements you found in step 2 to determine the amount of leather to cut. You don’t want the leather to be too short. Fold the belt and make sure the leather is folded so that the buckle is facing outward. It should look something like this:
Measure the right length of leather so that the buckle doesn’t overlap the edge.
When folding the leather, make sure that the edges are parallel to each other so that the belt will lie flat when it is fastened, otherwise the buckle will not be able to cover them.
PUNCH HOLES IN THE BELT
Once you know the size of the hole, make a hole on each end so they are symmetrical. The hole should be on the edge of the belt closest to the buckle.
Measure the width of the buckle.
Find the center line of the leather to which the buckle will be attached.
Chain stitch the holes in the middle and attach the buckle.
Cut the felt
Cut a piece of leather into strips.
I started with about a half inch wide strip and then worked up to a full inch.
The exact width will depend on the size of the belt but the more strips you cut, the more you save in the end.
Once you get the hang of it, you can always take 1 or 2 strips more.
PUNCH HOLES IN THE STRIP
Cut the pieces of leather so that the last 1/2 to 1 inch has no holes.
You can put tape over the holes if you’d like.
FOLD YOUR BELT
Start with 2 overlapping leather strips.
Fold them back on themselves and then fold one piece across the other.
Bring the bottom of both pieces of leather over each other and fold the top and bottom edges into a V shape.
Embellish the belt
The first important step to your finished belt is to cut two ends out of your leather. These will be attached to your outer side which is typically the side that ends up being more visible
Cut strips of leather from your fabric by cutting either the straight edges of the fabric or by cutting the fabric so that you have a strip of length you need. For example, if you have a fabric that’s 100cm long, you’ll have to cut either 5 or 10cm strips to create a 5cm belt from the fabric.
Making Each End Of The Belt
Each end of the belt you create needs a small amount of leather left on the sides to fold over and then you can attach it to the other end with a leather edge, like this:
Now you can measure your belt.
Attach the clasps
Measure the circumference of the part of pants or coat you want to secure your belt to. For example, if you are buying a belt for your coat, measure around your coat or around the area where you will be attaching the belt.
How To Make A Belt Supplies
Tape Measure
Take your tape measure and put the first two fingers of one hand
Now measure around your pants or coat again taking each measurement over the first mark. This is the measurement you will need to add to your first measurement to determine where to place the holes on your belt.
As stated above, measure out the circumference for your pants or coat.
Measure Your Pants or Coat And Determine Where To Position Your Holes
Measure your pants/coat and place this number
Now put your tape measure right over the hole, making sure it’s still even, in the center
This measurement tells you the center of where the holes on your belt will go.
Punch These Holes Into The Belt
Use a small round-headed nail on a flat headed screwdriver to punch holes through your leather
Punch the center hole, then put each of the two holes that touch your center hole on each end of your belt. This helps the belt to stay together